Barricade HD Off-Road Front Bumper with LED Fog Lights (19-21 Silverado 1500)

(11 customer reviews)

$1,170.99

In stock

SKU: S112416 Categories: , ,

Description

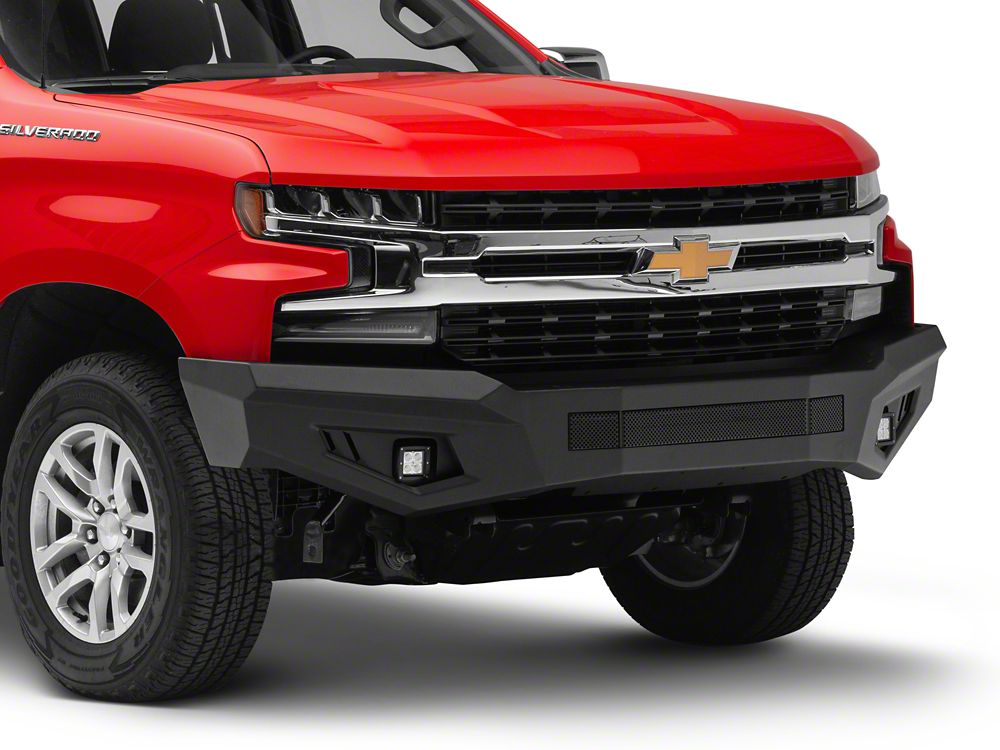
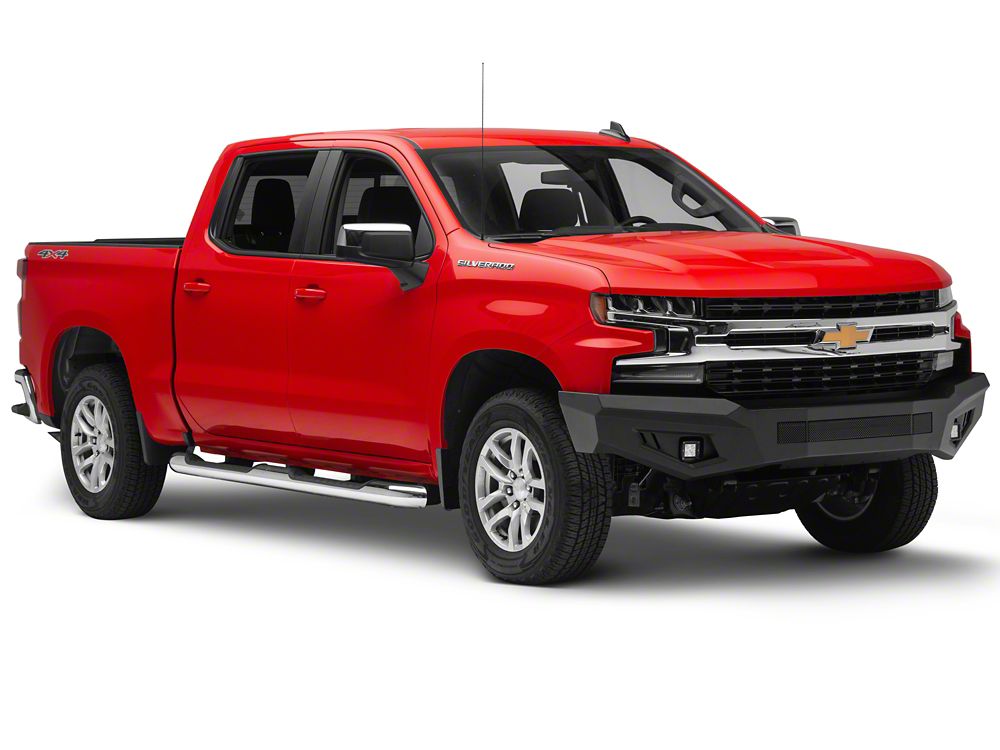
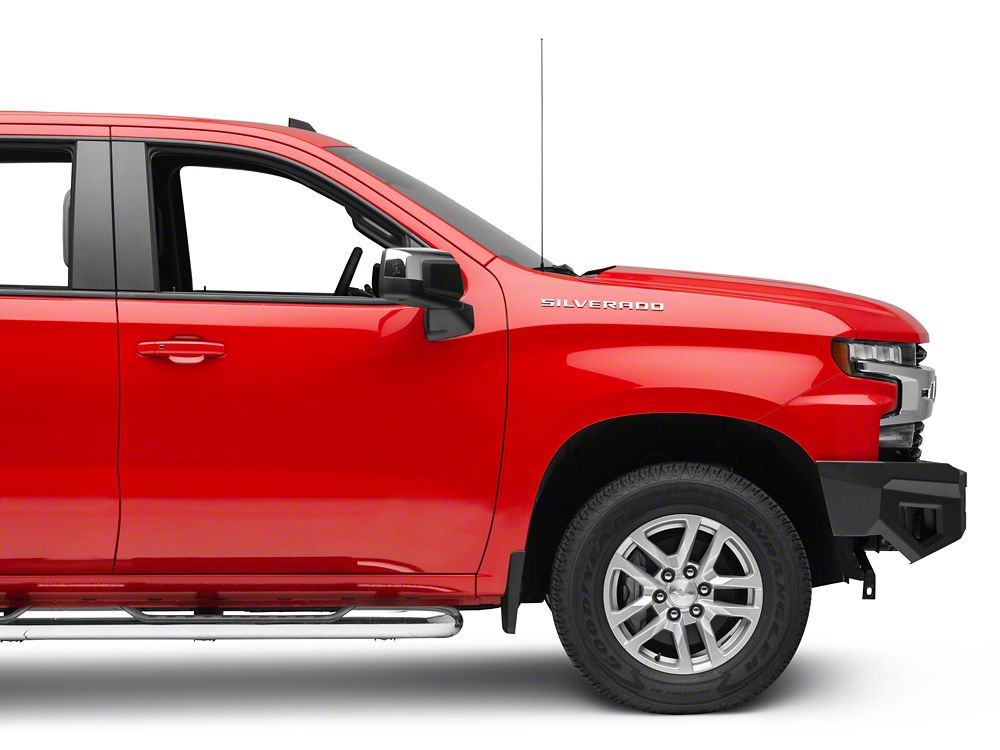
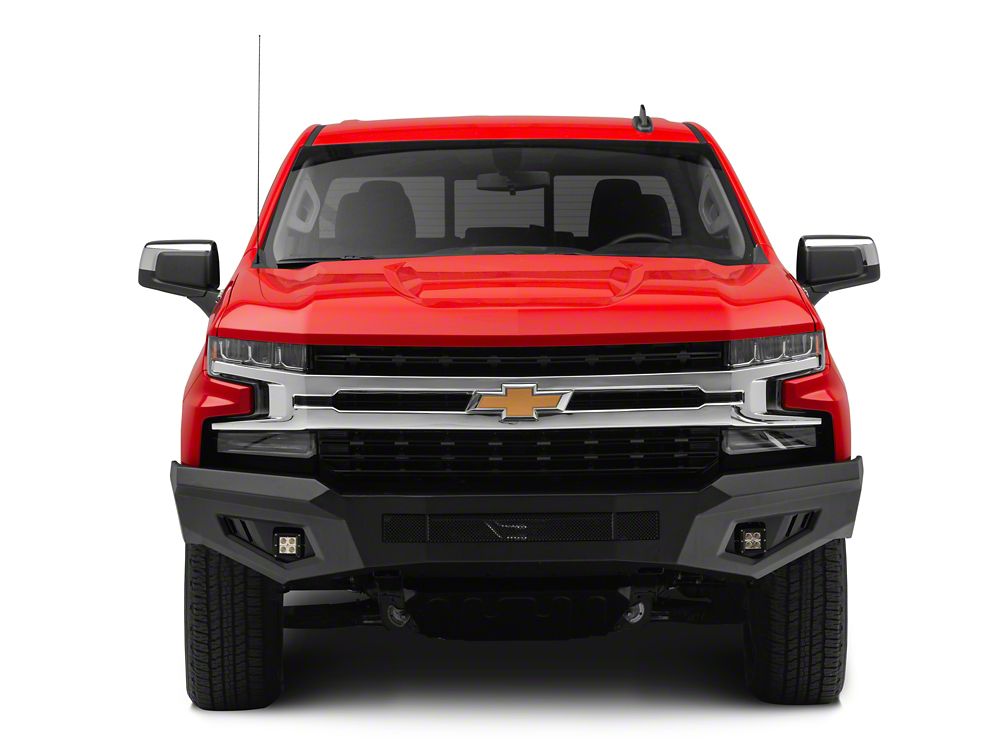
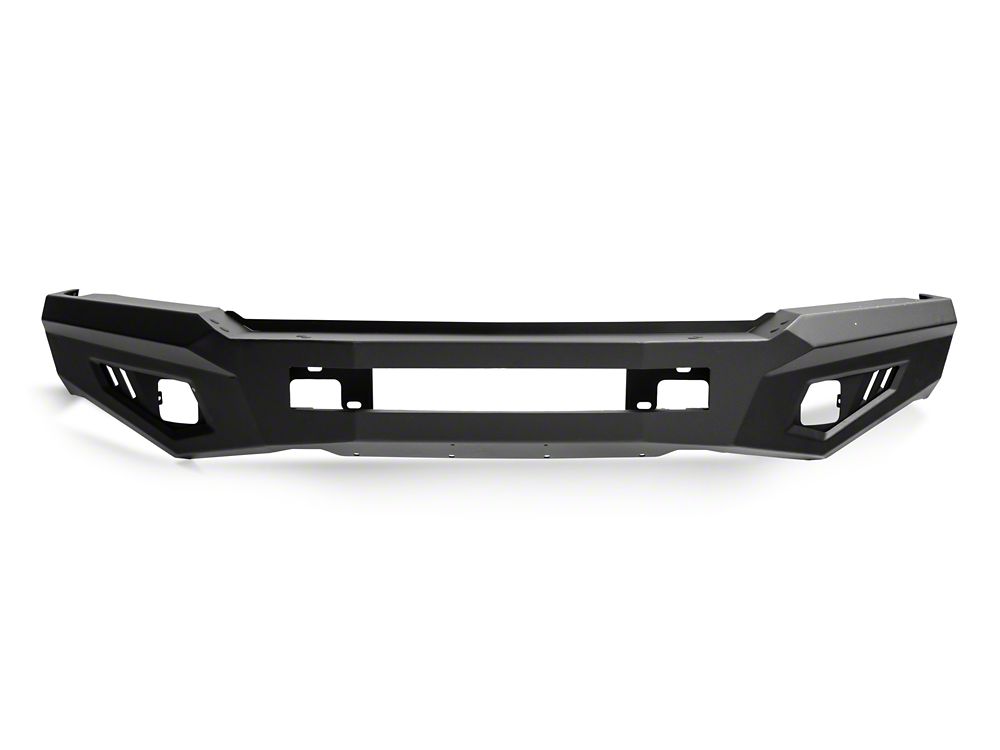
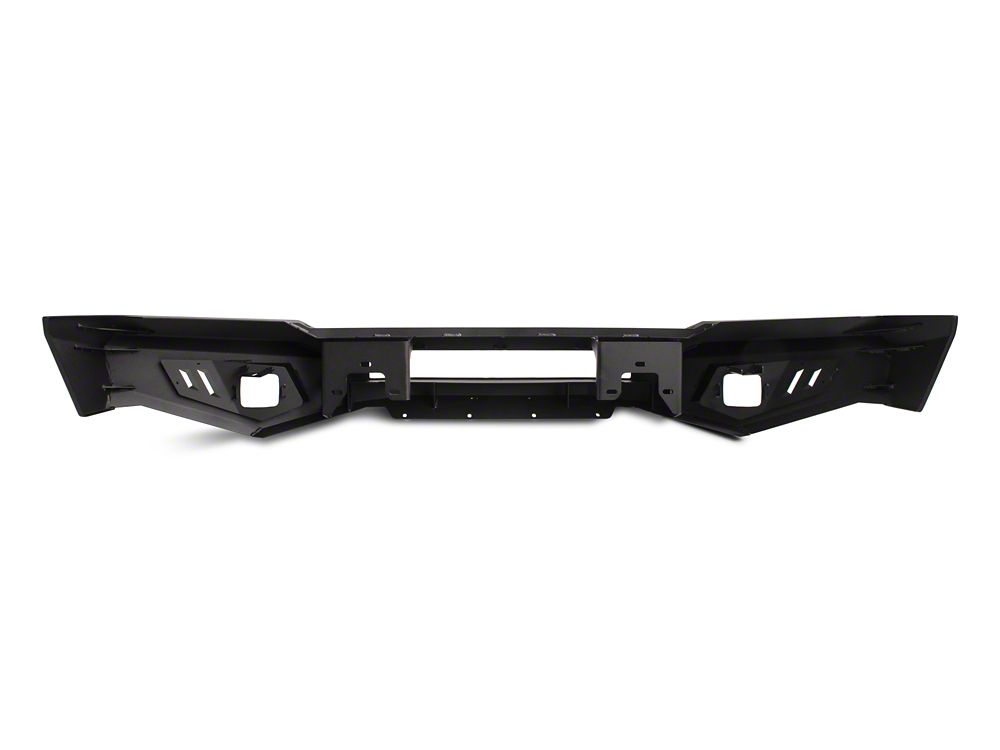
Precision Built. Looking for a front bumper that will deliver big for your Silverado 1500? Then look no further than the Barricade HD Off-Road Front Bumper with LED Fog Lights. Designed with aggressive, off-road styling, this full width front bumper is built to stand up in the harshest of environments.

Unmatched Engineering. Manufactured with a heavy-duty, steel plate and tube construction, this high impact bumper features a textured black, powder-coated finish. Resistant to rust and corrosion, you won’t have to worry about unwanted damage that can happen in wet environments or extreme weather.

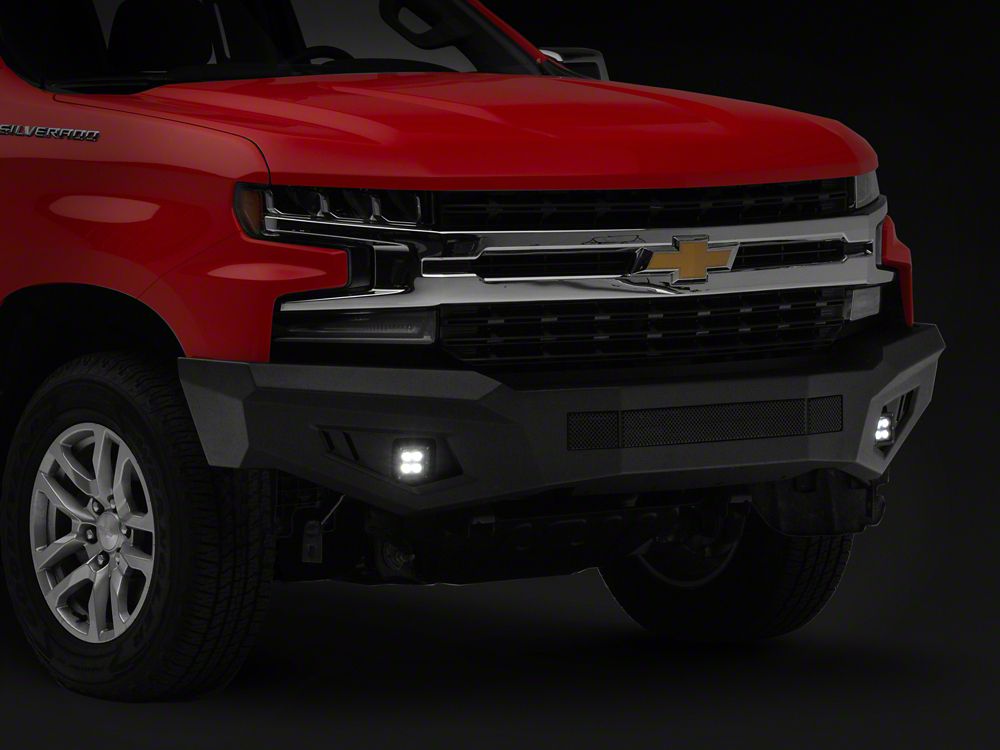
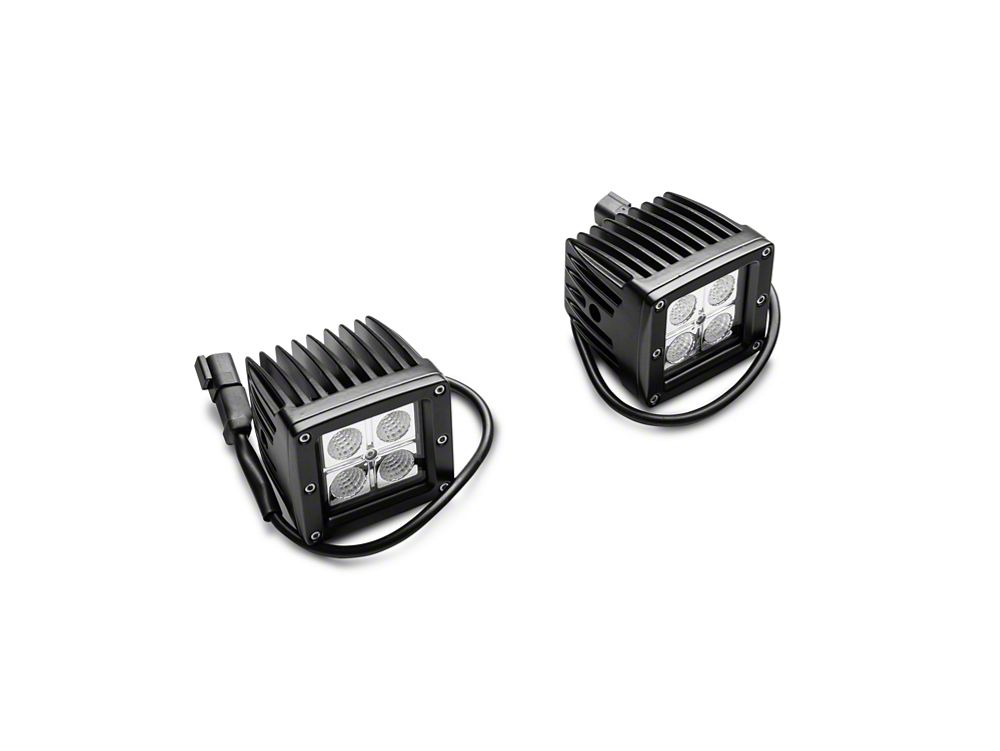
Built to Shine. The Barricade HD Off-Road Front Bumper showcases a pair of high-powered, 3 inch LED cube fog lights that have an average lifespan of 50,000 plus hours.

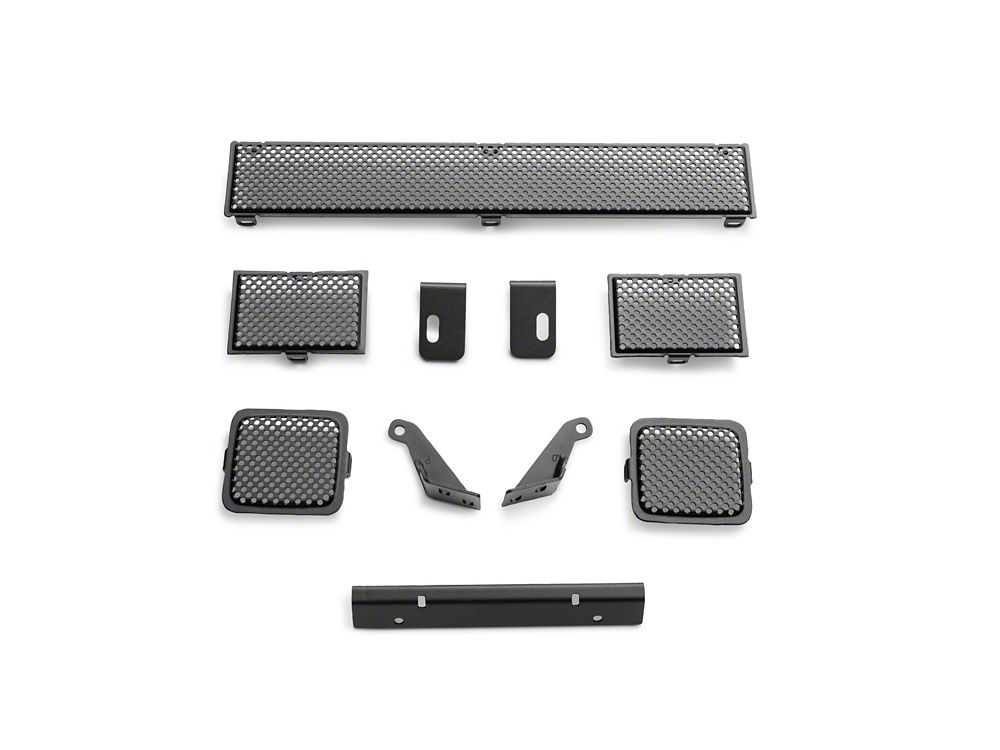
Installation. This easy, bolt-on installation requires basic garage tools and can be completed in 2 hours or less. For a sturdy install, quality hardware is included.

Application
. The Barricade HD Off-Road Front Bumper with LED Fog Lights fits 2019-2021 Chevrolet Silverado 1500 models. Does not fit Silverado 1500 Legacy models.
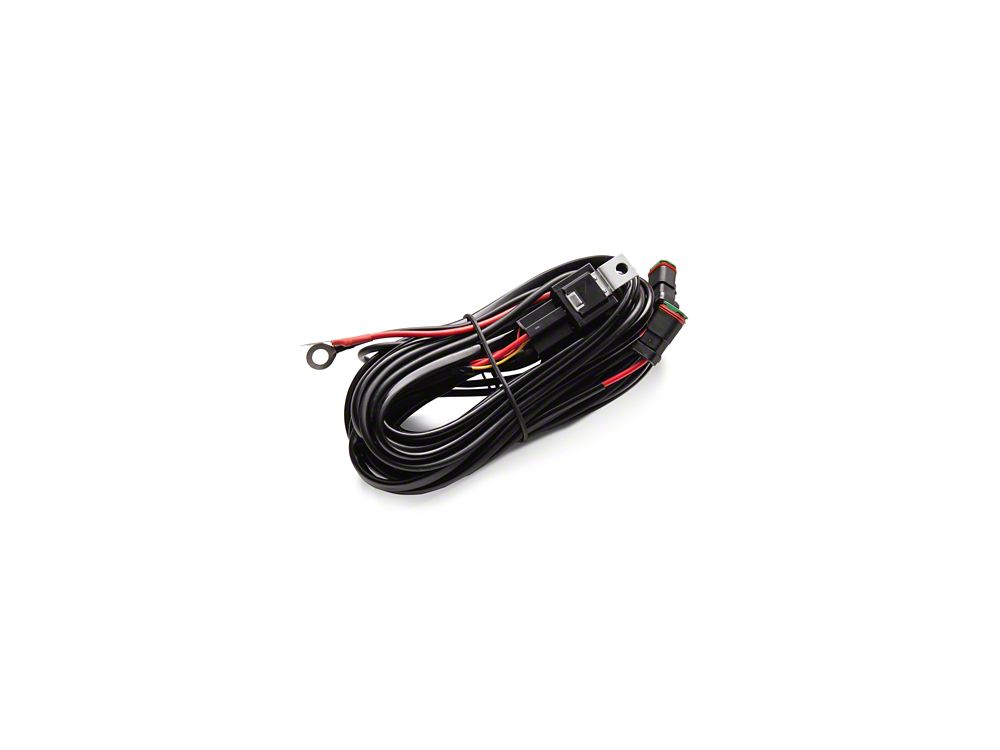
Additional information

Fitment

19-21 Silverado 1500

Vehicle

Category

11 reviews for Barricade HD Off-Road Front Bumper with LED Fog Lights (19-21 Silverado 1500)

  1. Rene R (verified owner)

    This is well worth the cost but you definitely need to get the skid plate as well really completes it. Plus added a 30 in light bar which looks dope and fits perfectly

  2. ROBERT H (verified owner)

    Over the years I’ve done many builds using aftermarket bumpers from many manufacturers. This Barricade unit in combination with the skid-plate and hoop still has me scratching my head wondering if you guy,s forgot to charge me for everything. Outstanding value coupled with precision fabrication not even seen with bumpers at twice the price. Straight forward installation and highly recommend the skid-plate as it adds to the structural integrity of the whole system.

  3. Jason O (verified owner)

    I wanted to add some much needed info to my previous review. First, in my opinion, the skid plate offered with this bumper (as an option) is a mandatory purchase. The factory bumper, lower trim and lower air dam extend so far down that the factory skid plate (really just a flimsy piece of plastic) is sufficient to cover the opening behind the bumper. However, after installing the new bumper, there is an enormous gap that did not previously exist. Not only will the oil pan be exposed to debris, but a sufficient amount of airflow will be allowed past the radiator to probably affect cooling as well. BUY THE OPTIONAL SKID PLATE! Not only will it cover the entire area from bumper to crossmember, front to back, and tow hook to tow hook, side to side, I believe it is 3/16 ths plate and will add much needed protection.
    Second, after installing the bumper and skid plate, you will most likely stand back some distance to admire the new look only to see that something clearly is not right. The inner fender wells, along with some mounting brackets for them, stick down almost as low as the original front air dam. They look like droopy dog ears hanging down! There is a small, black and white photo of this on the last page of the included installation instructions provided with the bumper but it does not do the horrid look justice. Not to worry. Remove the two T15 screws from inside the fender well that attach it to the now exposed mounting bracket. Then remove the four 10 mm bolts holding the mounting bracket to the front clip. Once the four bolts are removed you need to gab the bracket and slide rearward to disengage the mounting tabs. Where this mounting bracket was attached looks like maybe 1 1/4 inch or 1 1/2 inch square tubing. While facing the truck (looking rearward) take a marker and draw a sweeping line from where this square tubing meets the front clip to just above where the outer, lower edge of the new bumper. I left about an eighth inch below the square tubing. Now turn the wheel to full lock (full right hand turn for the passenger side, and full left hand turn for the driver side) to allow enough room to work in the wheel well. Take a self-taping screw and a large area washer and attach the inner fender well to this piece of square tubing (from inside the wheel well) to keep the inner fender from flapping in the wind and/or tearing apart. The inner fender well material resembles thick felt with a stiffening inner binder. Now go back to the front of the truck and cut along the line drawn earlier. A razor blade or utility knife will not work. Use a good sharp knife or a dremel tool. Repeat this procedure on the other side. Once the inner fender wells are cut off (appropriately) and the skid plate is installed, the front end has an almost Baja truck look. Very cool! Also, this whole install only takes about two and half hours.

  4. Jason O (verified owner)

    Obviously this went on a ’19 new body silverado 1500. Install is just about as easy as one could hope. Removal of the factory bumper, on the other hand, is much more difficult. Removal of the grill is really easy and straightforward once you understand how it is installed. There are four bolts along the top edge of the front clip to be removed, along with numerous plastic trim clips. Once all these are removed, pull up and out (slightly) along the top edge of the grill so that it sits on top of the front clip (not flat as when fully installed). Then grasp the plastic grill high and centered above the bowtie and pull straight out to release the spring clip in the center. Repeat this same action at the bottom of the grill, and lastly on each side near the “wings”. Once the top, bottom center and both “wings are pulled free, the bottom two outer clips can be removed by tilting the grill out at the top and using a pry bar to assist in popping the spring clip out. I do not recommend pulling the outer bottom clips by hand with out the pry bar assistance. Once the grill is out all the bumper bolts can be accessed fairly easily. I would highly suggest having three people to remove the old bumper, as some prying of the lower air dam support brackets will be needed. After the old bumper is off, remove the large rectangular frame to bumper brackets as well as the foam pads around the tow hooks.
    As with removal of the old bumper, I suggest three people for installation of the new bumper. Have one person on each end, and one to get the bolts started. each person on the end should place a finger over the upper point of the outer edge of the bumper, so as not to scratch the paint. There are only six bolts to tighten once the bumper is centered and leveled.
    For those who may ask: THIS BUMPER DOES NOT FIT INSIDE THE FRONT FENDERS!!!!!!! THIS BUMPER WRAPS AROUND THE OUTSIDE OF THE FENDERS AND WILL PARTIALLY BLOCK THE WHEEL WELL DUCTS. I personally like this feature as it give much more protection on the outer corner than the very flimsy factory bumper offers. I will post pictures as soon as possible, if allowed, because I also installed a grill guard over this new bumper. That task will have to be covered in another post.

  5. Jordan C (verified owner)

    was very easy to install. had all hardware and was very sturdy after putting on.

Only logged in customers who have purchased this product may leave a review.